Making a Practical Sifter

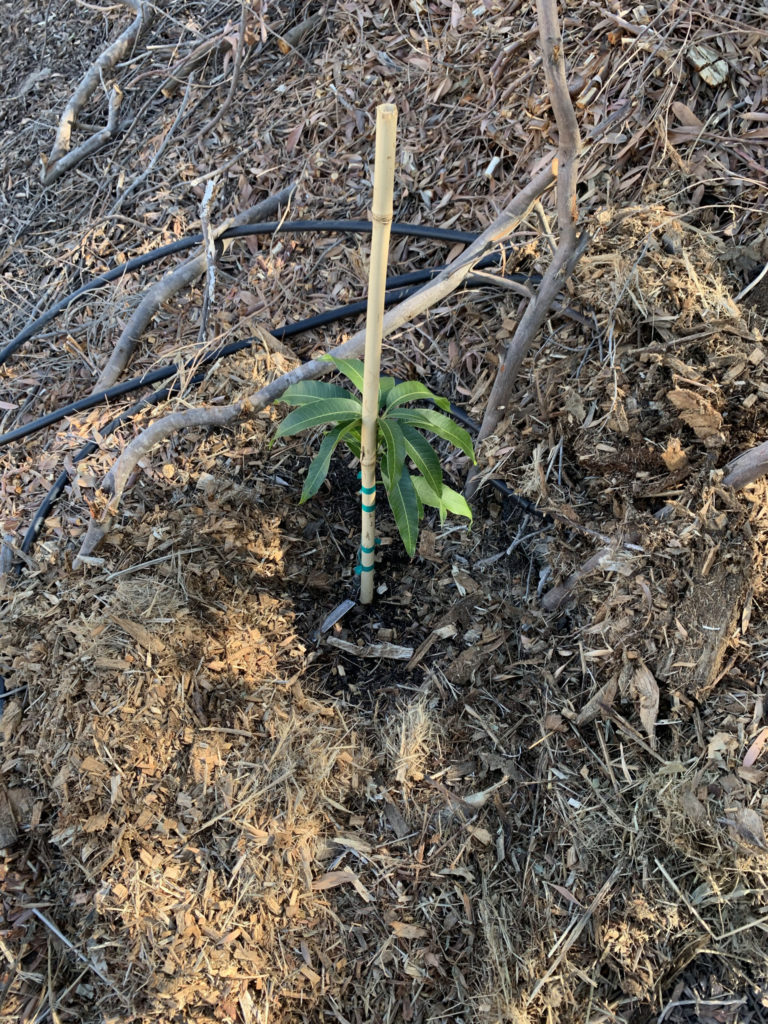
The house we live in used to have a backyard with a well planned and defined planting area with shrubs and trees separated from the grass. The shrub area bordering the fence, as well as many other areas throughout the yard, used red lava rock as a ground cover. I don’t know this because I’ve seen pictures, I know this because the evidence of the ground cover is embedded in the soil all throughout the yard.

Leaving all of the red lava rocks in the soil is less than ideal. It creates barriers for plant roots and makes digging a frustrating exercise. So something had to be done to separate the rocks from the dirt. As mentioned the soil around my house is heavy clay soil and when it dries it turns to concrete, and when wet it clumps together readily. This makes traditional sifting with a big flat sifter nearly impossible without wasting tons of water. If I lived in a water abundant area, I would simply shovel a ton of soil on to a flat sifter and hose it down until only the rocks remained on top of the mesh grate. Unfortunately for me, I do not live in a place with water to waste.

My wife did some Googling and found a trommel with instructions on how to create one for yourself. Thanks to Mike’s Trommel I was able to purchase the parts needed and create one myself. I have been using this trommel on and off to sift out the rocks from my soil and dispose of them. I am going to copy and paste the instructions below just in case his website ever goes offline.

Benefits:
Light
Shortens dry-washer run time
Helps dry damp material for dry-washer
Classifies so material carried to dry-washer or sluice is not large, heavy rocks
Inexpensive
Excellent worm harvester and compost sifter / screener
Tumbling shakes and separates gold from rocks (higher yield)
Compacts for easy storage up on end or light enough to hang on the wall
Built from easily available materials
Can be used for gardening / composting / aggregate classification
Readily replaceable parts
Quickly classifies large quantities of material
Take many buckets of classified material home to work
Sturdy and weather proof
Is adaptable to high banker, hanging sluice, and recirculating water use
Allows material to be re-run as many times as necessary
Plans are free (the right price!)
Email if you need assistance
No electrical or gas engine parts
Turns effortlessly
Ergonomically designed with an upgrade idea available below
Saves buckets from early death due to rocking bucket type classifiers
Can be used by yourself or accommodates teamwork
You don’t get tired or sore from rocking buckets or shaking classifying screens
It’s also fun to build!
Parts:
2 Five Gallon Buckets (.75 mil or greater gauge)
1 Roll #19 gauge 1/2″ Mesh Hardware Cloth Screen (or woven is better if you can find it)
20′ X 1″ PVC Pipe 6 PVC 1″ Elbow Fittings
5 PVC 1″ Cap Fittings
1 PVC 4 X 1″ Cross Fitting
5 PVC 1″ T Fittings
1 PVC 1″ Coupling Fitting
4 HYCO 12″ Pipe Strap Bar
2 Bags #8-32 X 1/2″ Machine Screws  (comes 8 pack)  (need 16 bolts with nuts)
1 Bag #8 Washers (comes 30 pack)  (need 16 #8 washers or larger fender washers)
2 Bags #10-32 X 2″ Machine Screws (comes 4 pack) (need 8 bolts with nuts)
1 Can PVC Cement
          3 Hose Clamps 1 3/4″ (Optional)         1 Old Bicycle Tube     (Optional)
Tools:
Drill and Bits
Sabre Saw
Screw Driver
PVC Cutter or Hack Saw
Tin Snips
Needle Nose Pliers
1/2 round File or 1 3/8″ hole drill
Tape Measure
Emery Cloth or Sand Paper
Directions:
Cut 11 pieces 1″ PVC X 6″ Spacers.
Cut 1 piece 1″ PVC X 41 1/2″ Axle.
Cut 2 pieces 1″ PVC X 29″ Sides.
Cut 2 pieces 1″ PVC X 14″ Front Legs.
Cut 2 Pieces 1″ PVC X 21″ Rear Legs.
Cut buckets 7″ from top.
Cut bottoms from buckets to leave material for hopper.
Cut screen 24″ X 39″ leaving long wire ends on sides to connect by bending.
Attach wire screen to outside of upper bucket and inside of lower bucket using 4 bolts with washers.
Cut 8 Strap Bars 6 ” long and bend 1/2″ at ends to 90 degrees which leaves a distance of 5″ from axle to bucket.
Drill offset axle holes at 90 degrees about 4″ from front axle end and bolt barrel supports.
Drill offset axle holes at 90 degrees about 13″ from rear axle end and bolt barrel supports.
Glue the coupling to rear axle.
Assemble and glue handle assembly using cap, three six inch pieces, and two elbows.
Sand 2″ of forward axle to easily fit “T.”
Connect and bolt axle to barrels checking for 1/2″ clearance at front.
Bearings are front “T” fitting and rear 4 X 1″ Cross fitting.  They are drilled, liberally lithium greased, and bolted, not glued so they can easily be replaced when worn out.  File or drill the inside of 1″ X 4 fitting until handle assembly slides easily though to connect to axle’s coupling.
Assemble frame and check for clearance.  Do not glue legs to “T” fittings on frame.  In the future legs can be stored inside of trommel or bungeed to stay in place.  Glue frame and set legs slightly outward for added stability.  Slide handle assembly through greased rear bearing and into coupling.  Drill and bolt handle assembly to coupling and also where bearings attach frame.
Cut each remaining bucket material down the side from top to bottom.  Overlap the two pieces by 2″.  Drill 5 holes then bolt together.  (Or buy another bucket and use half to have a smooth hopper slide.)
Drill and bolt the hopper assembly to frame checking for clearance from struts and close fit so rocks can’t slide under the hopper.  Trim using snips being sure to round edges where it enters barrel. 
Optionally attach bicycle tube dust shields (highly recommended to prevent wear.)

Chips, Wood Chips

August 10th 2020 at 8:30ish AM I requested a wood chip delivery from Chip Drop. By 3pm that day the wood chips were delivered. It was a mixture of sycamore wood and bamboo. That is what I was told, but I did find some palm fronds in there as well. The whole truck load was dropped off on the driveway in about 8 minutes, and then they left.

Bamboo on the left, and sycamore on the right.

Over the next few weeks it was taken to the back of the house barrel by barrel, covering the parts of the back that had already been treated for weeds. The initial plan was to cover the back slope with them to keep the weeds down, but that process was painfully slow. We compromised and started to cover the back with wood chips in an attempt to keep weeds down, and improve the heavy clay soil we have back there with some decaying organic matter.

The wood chips actually looked really nice compared to the black 6 mil plastic there for months prior that we used to kill the jungle of invasive weeds that had formed over years of neglect by previous owners. The cost couldn’t have been better either, it was completely free with included delivery. Tree services trim and remove trees every day, and they need places to dump the ground up wood of that day. They have yards where they can dump the load for the day, and deals with local municipalities that will take the chips, but it seems that they always have more that they need to offload.

Sycamore chips in the backyard against a newly painted wall.

Eventually I got around to ‘building’ a ramp to get over the retaining wall in the back and wheel the barrel up the hill. The bamboo mulch was mostly used to cover the back hill. I can finally park in the driveway again.

I am happy with the result of the mulch covering, but I don’t plan on doing that again any time soon.

Irrigation – From Zero to Beginner

If you are anything like me, you know nothing about irrigation. You know that sprinklers come on and off on a set schedule, but you never had to learn how the system is set up. I recently spent time learning exactly that.

In my house there was a sprinkler system in place when I purchased it, which is a blessing and a curse. It is great that the difficult work of running PVC is done, and cable run to the sprinkler valves. The problem is the work was done decades ago for a yard layout that we no longer have, and don’t want to recreate. My house had valve boxes that were quite literally buried and I had to rediscover them by luck. Old pipes were discovered underground, and existing pipes were not connected to anything that I could find.

Retrofitting Sprinklers to Drip

I found a convenient way to change the current sprinklers to drip using a Rainbird Spray to Drip Retrofit Kit. I simply unscrewed the existing sprinkler, screwed this head on, and it was ready to go for drip irrigation. I purchased some 1/2″ poly tubing from Drip Depot to run the main line of water to tap into. From the 1/2″ tubing, you punch 1/4″ holes, and attach 1/4″ barb tubing couplings, then to that you attach 1/4″ poly tubing. At the end of that you attach a barbed drip emitter of your choosing.

This shows a basic mainline to drip setup. You tap into the 1/2″ tube, and run a 1/4″ tube to the plant you want watered.

I first chose set, cleanable drip emitters, but quickly change to adjustable emitters with a steak attached. With the original emitters I was limited to the chosen flow rate only. If a plant grew and needed more water down the road, it would have to be removed and replaced with a new emitter with more flow. Using the adjustable emitter, you can simply unscrew the emitter a small amount to allow more water to flow. Once the tubing is all set and ready to flow, now to automate the process using a sprinkler control system.

Here you can see the black 1/2″ poly tubing in the mulch with 1/4″ tubing running to the potted plants. Alternatively you can see the 100′ hose previously used to water each plant on the right. Much time saved with automated watering.

Sprinkler Control System

I am of the digital age and prefer a digital interface to my control systems. When I moved in, we had a sprinkler control system from 2003, an old Hunter Pro-C controller. While it worked perfectly, it was not my preferred method of control. I wanted to be able to schedule and monitor the watering from a digital interface, and this would never provide that.

I looked at DIY sprinkler systems with Raspberry Pi setups, but that seemed like to much maintenance and pre-work for my needs. I ended up with a Hunter Pro-C Face-plate replacement that enabled WiFi connectivity and Hydrawise controller support. Once connected, setup and configuration was a breeze compared to the analog model. I was able to re-wire the existing cable and find out which sprinkler zone did what and note it in the Zone Name. This controller software allows you to modify watering schedules and times based on rain and heat forecasts and actual reports.

Everyone talks about Zones in irrigation with the assumption that you understand what a zone is already. A zone in its simplest terms in an area or set of sprinklers that can be turned on independently of other sprinklers. Each valve controls its own zone. The area that is watered by simply turning on that valve is the zone. The most basic zone could be a single sprinkler that is hooked up to its own valve.

Each one of these is a different Zone. Some zones are multiple sprinklers, some are single sprinklers.

Final Thoughts

There is no absolute right or wrong way to irrigate your yard. Different tools work for different situations. Research what others have done, and take the ideas that you like the most.

The Start

This is the first blogpost. Mainly created so the blog link will work.

Scope

I want to cover the challenges I run into when creating my backyard forest of fruit and edible plants. Everything from soil improvement, water management, pest control, neighbor’s complaints, weed suppression, sunburns, lack of motivation, cost, and unexpected disasters.

Timeline

This is a project with no end date. I expect it will be years before any noticeable progress is made towards the forest.

Goals

  • Produce fruit and edible plants that are not readily purchased from the store in my area.
  • Have a lush landscape.
  • Have enough to share, but not too much as to waste.
  • Learn.
  • Improve the value of my land.
  • Improve the quality of the soil.
  • Inspire others.
  • Have a way for kids to make money on hot summer days in years to come by selling ice cold, locally grown mixed fruit in the neighborhood.
  • Be self sustaining minus water